 (Image via
Creating a homework space that invites focus and creativity can make after-school assignments something to look forward to. A quiet corner in the living room or an overlooked nook in the hallway can become a dedicated homework spot with just a few thoughtful changes. Adding comfortable seating, good lighting, and smart storage helps set the right mood for learning. Parents have shared how they made the most of closets, alcoves, and even small corners to design inviting study zones for their children. With practical ideas and a bit of imagination, you can set up a homework area that inspires both productivity and enthusiasm.
This space should work for spreadsheets and science projects, sketching and free writing. You’ll map out each step: from picking a location, to choosing desks that grow with your kid, to stashing art supplies within arm’s reach. By the end, you’ll have an action plan and concrete examples that fit right into your home.
Plan Your Homework Nook
Planning saves time and money. You start by figuring out how much room you can dedicate to this nook. Maybe you repurpose a hall closet or carve out under-stair space. Next, think about how long this setup needs to last. If your child moves from elementary math to high school chemistry, the desk should flex to fit rising heights and evolving needs.
You’ll also list tech needs: a laptop station, a charging spot, maybe a small printer. Consider noise levels. If you live in a bustling space, you might add a room divider or a curtain to mute distractions. Note sunlight patterns at different times; glare can frustrate when screens or math angles collide.
- Assess the space. Measure width, depth and height. Sketch the area on graph paper or use a simple app for visuals.
- Define functions. Determine which activities will happen there: reading, art, video calls.
- Set a budget. Allocate funds for desk, chair, lighting and storage, and leave room for creative extras.
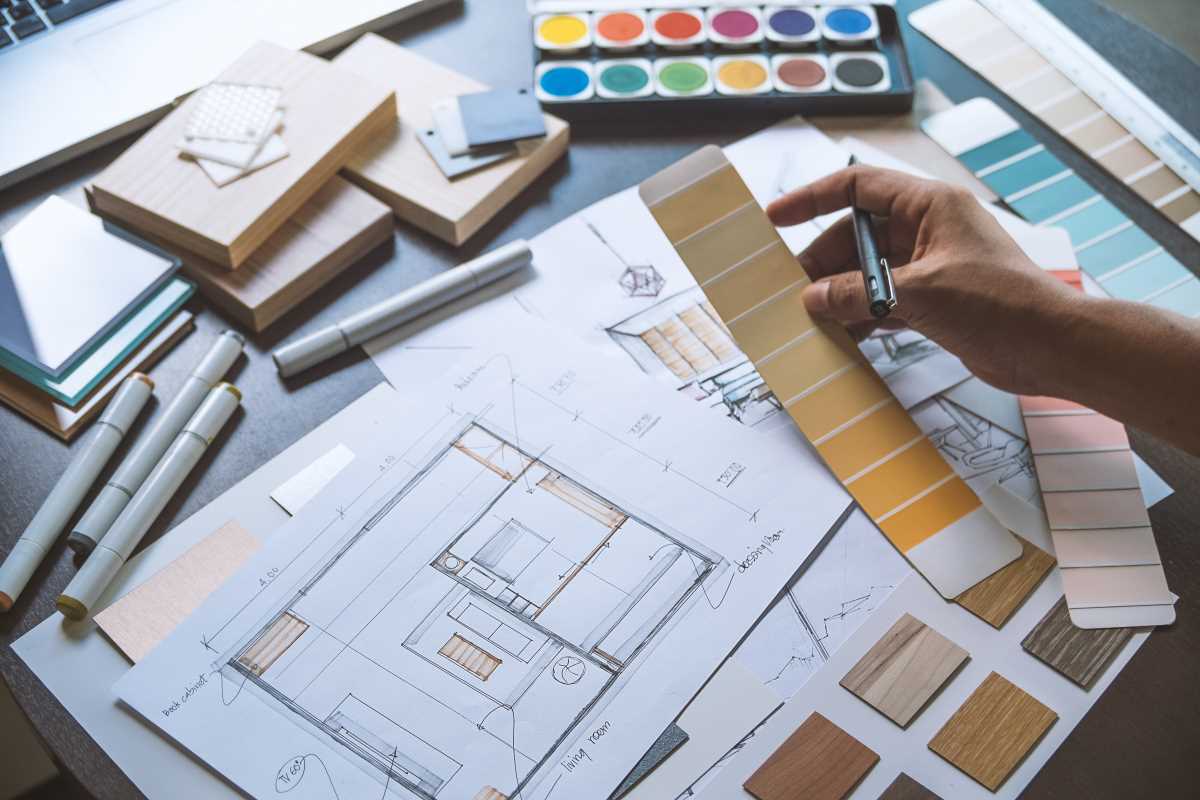
- Gather inspiration. Browse real home tours online, pin images that resonate, and note color palettes.
- Create a timeline. Decide whether this is a weekend DIY or a phased project spanning several weeks.
Select the Perfect Location
Choose a spot where you can supervise without hovering. A corner in a family room or a landing between bedrooms works well. You’ll want enough wall space for shelves and pinboards. Think about traffic flow: avoid high-traffic paths where backpacks slam doors or siblings spill through on the way to play.
Natural light uplifts mood and focus. Face the desk toward a window if possible, but angle the screen to avoid glare. If windows aren’t an option, create a bright atmosphere with layered light—ambient, task and accent. Neutral walls let you change decor easily as tastes evolve.
Select Furniture and Layout Ideas
Your furniture choices influence how kids interact with the nook. A desk with adjustable height legs can grow alongside your child. A rolling cart tucked beside or under the desk holds notebooks and art supplies. Chairs with lumbar support keep spines happy during long study sessions.
- Convertible desk: A flip-top model doubles as a drawing board or a standing desk.
- Cupboard desk: Fold the work surface up to transform the nook into a tidy art station.
- Corner desk: Makes use of a dead corner in a bedroom or living space.
- Floating shelves: Keep the floor clear, use baskets on the shelves for paper and pencils.
- Built-in bench with storage: Cushions create a cozy spot, storage bins fit underneath.
Arrange the furniture so you can move around it easily. Leave space for a small easel or a craft table nearby. If siblings share the nook, position two chairs facing perpendicular walls to minimize elbow clashes.
Choose Lighting and Color Schemes
Layered lighting offers flexibility. Start with overhead lighting that’s bright but not harsh. Add an adjustable desk lamp with a warm-tone bulb to reduce eye strain. Clip-on lights on shelves highlight reference books or display art. Accent lights, like LED strips, add a playful vibe after school hours.
Color choices impact focus and mood. Soft blues or greens calm the mind; a lively accent wall in yellow or coral energizes creativity. Paint one wall in a chalkboard or magnetic paint so kids can jot ideas or pin up inspirational images. If repainting seems big, use removable peel-and-stick wallpaper or decals for pattern play.
Organize with Storage Solutions
Clutter derails creativity. Create zones for books, art supplies and tech gear. Use clear plastic bins with labels so kids can find markers, glue sticks and scissors quickly. Keep everyday essentials within arm’s reach. Store less-used items like extra notebooks higher on shelves or inside cabinets.
Drawer dividers help separate paperclips, sticky notes and flash drives. A pegboard mounted above the desk holds scissors, rulers and cords in hooks or small baskets. Install a wall-mounted file organizer for papers and project folders. Rolling carts or stackable crates work if you need mobile storage that can slide away when company arrives.
Designing a Homework Nook That Inspires Creativity
Set aside a small corner for art and free writing. Include a mini easel or a tabletop whiteboard. Keep inexpensive sketchpads, colored pencils and safe paints nearby. Kids who switch from math to doodling stay engaged without leaving the nook entirely.
Encourage brainstorming with a mini idea wall. Hang cork tiles or a wire grid with clips. They can pin inspirational photos, magazine cutouts or sketches in progress. A mason jar filled with colorful pipe cleaners or sticky tabs invites spontaneous experimentation. Swap in craft supplies each season to keep the creative spark alive.
Gather the tools and set aside a weekend to complete the homework nook. Your child's focus and imagination will benefit from the organized space you create.